
A step-by-step guide to planning a community tool library with a clear purpose, safe inventory, fair lending rules, accessible space, maintenance, and a realistic pilot.
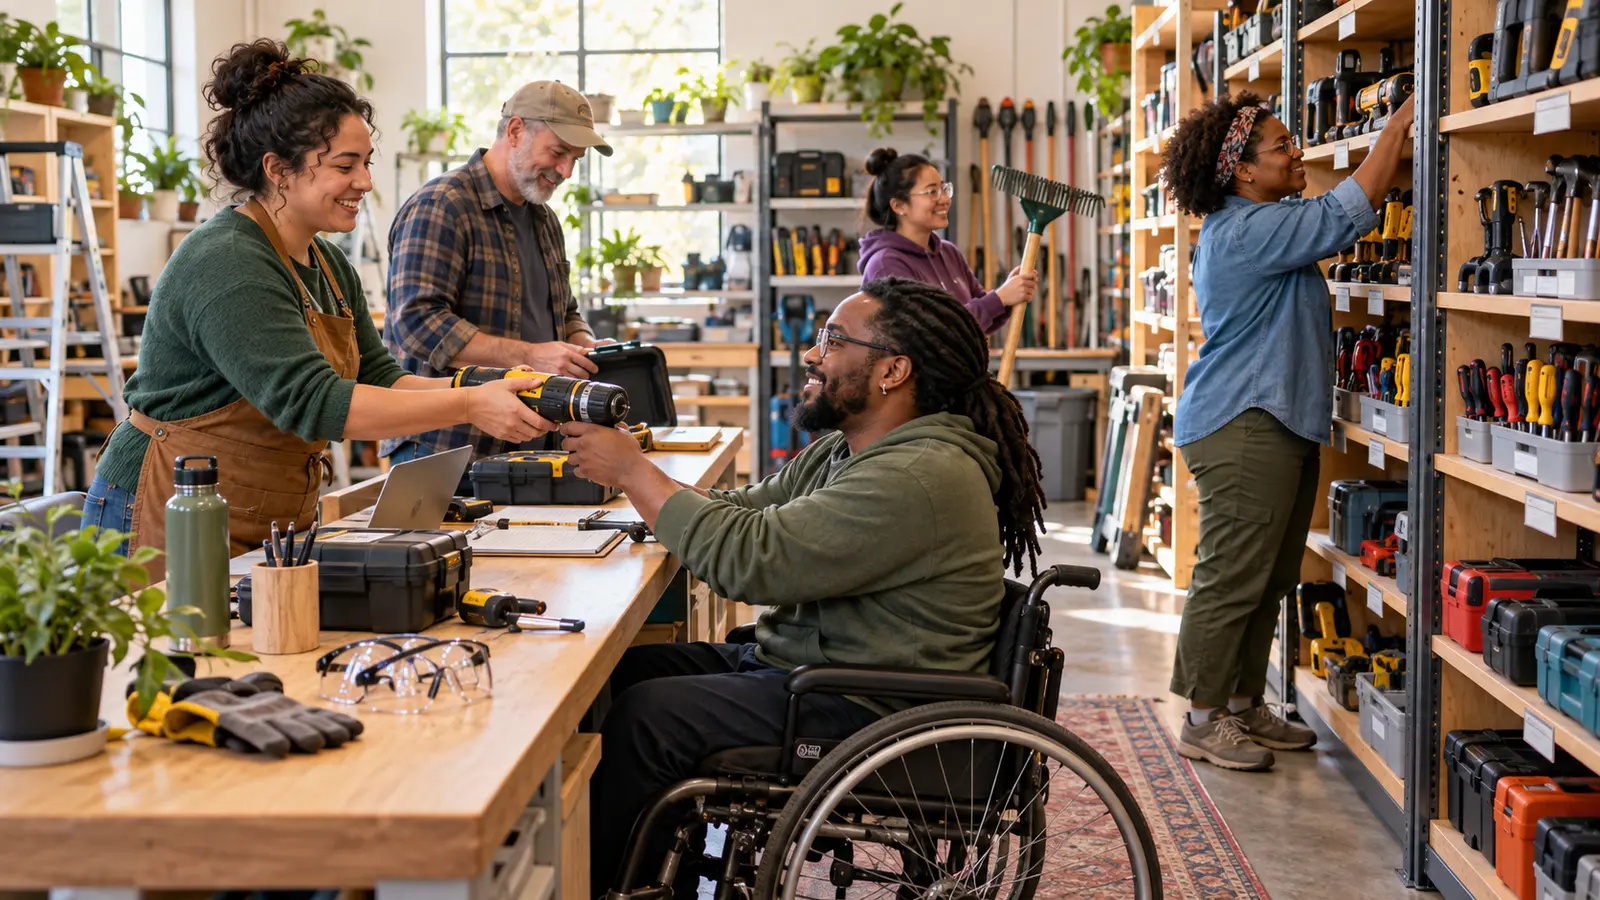
A tool library lends useful equipment for short periods so community members do not need to buy every item they occasionally use. A small program might offer basic hand tools for home maintenance or gardening; a larger one may include workshops, repair resources, or specialized equipment. The right model depends on local needs, staffing, space, insurance, and the organization’s ability to maintain what it lends.
Sharing durable items can support access while reducing unnecessary purchasing and storage. The U.S. Environmental Protection Agency describes a circular economy as a system that keeps materials and products in use and reduces material consumption. Its Model Recycling Program Toolkit includes resources for reuse, repair, and waste-reduction programs. A tool library can fit that broader approach when it is designed for safety, fairness, and long-term stewardship.
Begin with one clear sentence: who will use the library, what kinds of projects it will support, and what it will not provide. A neighborhood hand-tool program has different needs from a construction-equipment rental operation. Avoid promising every tool or serving an area larger than the team can manage.
Talk with potential borrowers, housing and neighborhood groups, libraries, schools, repair groups, disability advocates, and people who already share equipment informally. Ask which projects come up, what tools are hardest to access, what transportation or deposit barriers exist, and what hours are realistic. Do not announce partners until each organization has agreed to the role.
Decide which organization owns the inventory, signs agreements, carries insurance, manages money, protects member information, and handles incidents. Review applicable laws, leases, zoning, fire rules, tax questions, manufacturer requirements, and insurance with qualified local professionals. A volunteer group should not assume that a waiver removes every responsibility.
Name a program lead and a backup. Document who can accept donations, approve purchases, remove unsafe items, communicate recalls, authorize repairs, and close the library when staffing is insufficient. Clear authority prevents a well-intended program from becoming a collection of untracked equipment.
Use the needs assessment to create a starter list. Basic measuring, fastening, gardening, painting, and light repair tools may be easier to inspect and explain than high-powered or specialized equipment. Consider storage size, replacement cost, consumables, cleaning, charging, maintenance, age restrictions, and the skill needed for safe use.
Create a written donation policy before asking for tools. State what conditions, categories, and ages are accepted; who decides; and what happens to declined items. Do not lend a product that is damaged, missing a guard or label, modified from its intended design, or outside the program’s ability to inspect and maintain.
Assign every item a unique ID. Record the manufacturer, model, serial number when present, acquisition date, source, condition, included parts, instructions, inspection history, repair history, and retirement date. Photograph the item and accessories so staff can confirm what should return.
Check the U.S. Consumer Product Safety Commission recall database before an item enters service and on a recurring schedule. Follow the recall notice rather than improvising a repair. Quarantine affected equipment immediately, document what happened, and contact current or recent borrowers when the notice is relevant.
Explain eligibility, identification requirements, borrowing periods, renewals, holds, late returns, lost or damaged items, fees, deposits, household limits, age restrictions, and appeals. Use plain language and translate or interpret key information based on community needs. A program meant to improve access can unintentionally exclude people if it requires a high deposit, online-only signup, government ID, a car, or daytime availability.
Collect only personal information needed to operate the program. Limit staff access, set a retention schedule, and do not publish borrowing histories. Provide a clear way to correct contact information and ask questions.
At checkout, match the item to the borrower record, confirm all parts, review the manufacturer’s instructions, identify required protective equipment, and document condition. The borrower should have a way to report a problem promptly and should know to stop using an item that behaves unexpectedly or becomes damaged.
At return, place equipment in a review area rather than immediately back on the shelf. Inspect, clean, charge, test, or service it according to the manufacturer’s directions and the program’s written procedures. Mark the next inspection date. If staff are not qualified to assess an item, keep it out of circulation until a competent person does.
Provide step-free entry where possible, wide clear aisles, stable shelving, reachable service surfaces, seating, adequate light, and a quiet way to ask questions. Store heavy objects at manageable heights and use carts or assistance for movement. Offer inventory information in formats that work with assistive technology and do not rely on color alone to communicate item status.
Ask users what support they need rather than guessing from appearance. The U.S. Department of Justice’s effective-communication guidance explains the importance of communicating effectively with people who have hearing, vision, or speech disabilities. Local requirements and individual needs may call for additional steps.
Build a budget for shelving, software or logs, insurance, cleaning supplies, batteries, replacement parts, professional service, protective equipment, outreach, accessibility, and eventual replacement. Donated tools are not cost-free if they require inspection, storage, or repair.
Train volunteers for the tasks they actually perform: intake, inventory, checkout, privacy, cleaning, recall checks, incident reporting, and respectful communication. Do not ask volunteers to repair or demonstrate equipment beyond their competence. Schedule enough people to operate safely and close when minimum coverage is not available.
Open with limited hours, a manageable number of items, and a defined service area. Track active borrowers, reservations, on-time returns, unavailable requests, repairs, retired items, incidents, and accessibility requests. Protect privacy by reporting totals rather than individual histories.
After the pilot, ask whether inventory matches real demand, rules are understandable, fees or hours create barriers, volunteers can sustain the work, and maintenance is funded. Expand only when the program can care for the current collection. A reliable small library is more valuable than a large unsafe one.
A tool library is one form of community resource sharing, not a service UWP claims to operate. Groups exploring this model can use UWP’s Community Outreach program, Resources hub, and guide to building nonprofit community partnerships for planning context. The Get Involved page and Partnerships page offer ways to begin a conversation about broader community wellness work.
A tool library is a community lending program that lets members borrow tools or equipment for a limited period under shared rules.
Define the purpose, choose a responsible host, assess demand, set a focused inventory, review legal and insurance needs, write policies, build safe checkout procedures, and test a small pilot.
Start with items the community requests and the program can inspect, store, explain, and maintain. Avoid complex equipment until staffing, training, and service capacity support it.
Yes, if the program has a donation policy and inspection process. It should decline or retire damaged, recalled, modified, incomplete, or unsupported items.
They can verify recalls, preserve instructions and guards, inspect each item, document maintenance, explain required protective equipment, quarantine problems, and limit items to what the program can manage.
That depends on the budget and mission. Review whether fees or deposits create barriers, offer clear alternatives when feasible, and explain every charge and appeal process before enrollment.
Use step-free access, clear aisles, reachable counters, safe storage heights, usable digital information, effective communication, flexible support, and a process for requesting accommodations.
This guide is general educational information. Tool use can cause serious injury. Follow manufacturer instructions, product warnings, recalls, local requirements, and advice from qualified professionals. Do not use damaged or unfamiliar equipment.