Plan an inclusive community garden with clear purpose, site permission, soil and water checks, accessible design, shared rules, and sustainable roles.
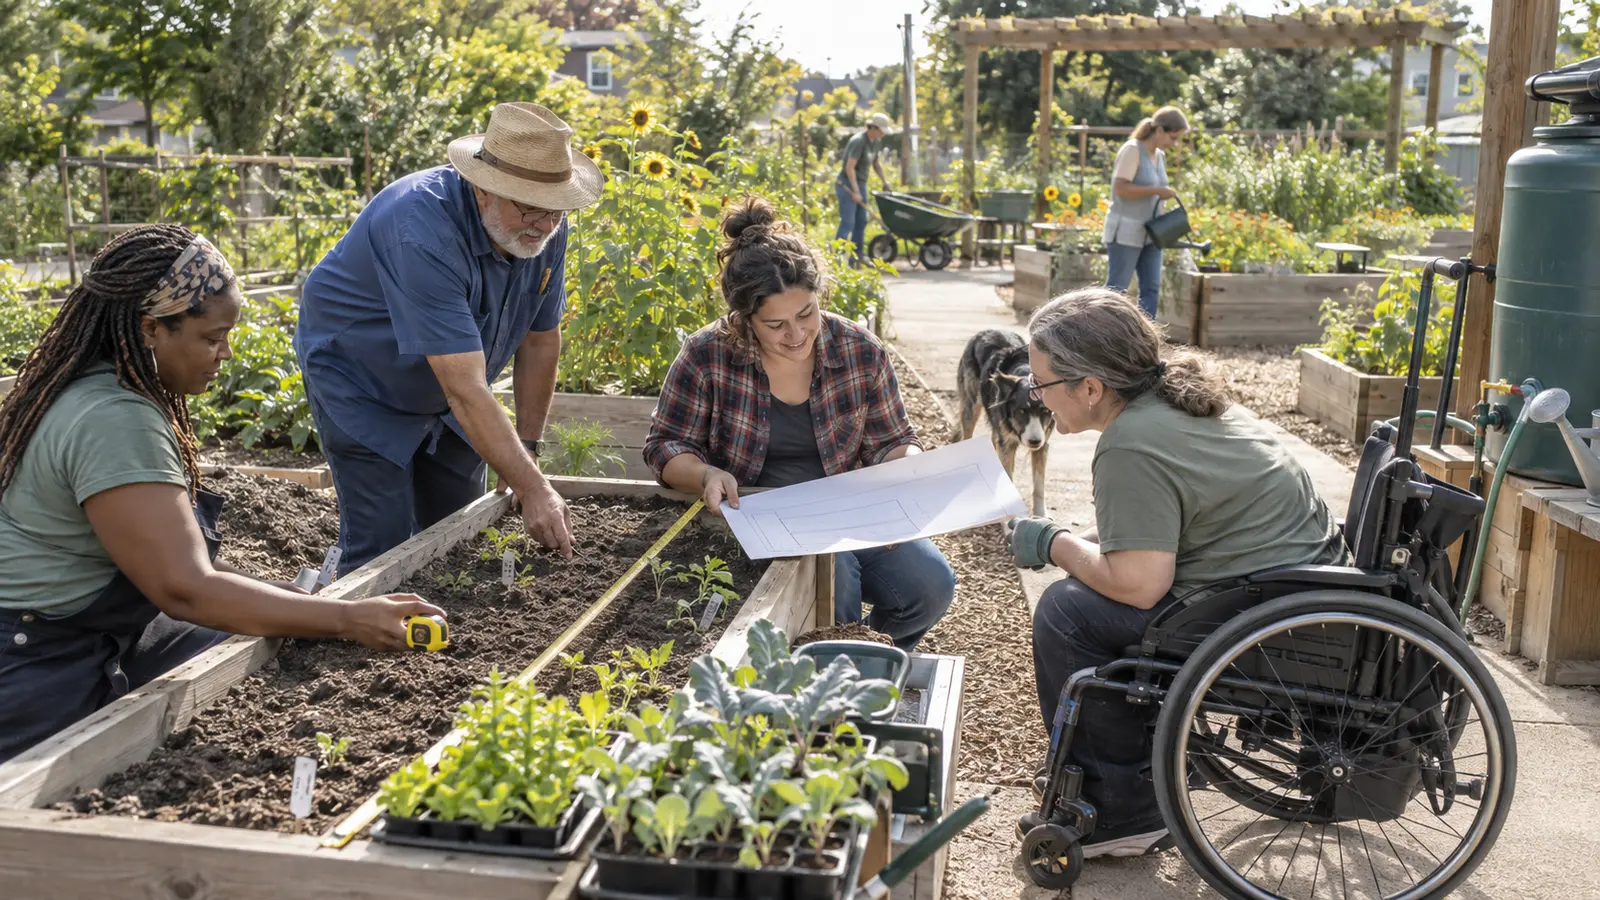
A community garden begins with people, purpose, and a workable site—not with a seed catalog. Before anyone builds a bed or collects money, the group needs to understand who the garden is for, what the land can support, how decisions will be made, and who will care for it through changing seasons.
This guide explains how to start a community garden as an inclusive neighborhood project. Local land-use, health, environmental, and food-safety requirements vary, so confirm them before work begins.
Invite nearby residents and potential participants to describe what they want from the space. Possibilities include individual plots, shared growing areas, youth learning, pollinator habitat, culturally meaningful crops, food donations, gathering space, or a combination.
USDA information about the People’s Garden initiative describes collaborative gardens that may support food production, green space, habitat, and education. Use those as possibilities, not promises about what one garden will achieve.
Create a team with clear roles: community outreach, site questions, accessibility, water, tools, finances, communications, and volunteer coordination. One person should not hold every password, vendor contact, and decision.
Write down how choices will be made, disagreements handled, leaders replaced, and changes communicated. Decide which organization or individual may sign an agreement, receive funds, or carry insurance if required.
Confirm ownership and written permission. Ask about past uses, boundaries, access, sunlight, water, drainage, utilities, traffic, storage, restrooms, and how long the land will be available.
Do not assume soil is safe because it looks healthy. Former industrial, commercial, demolition, dumping, or heavily trafficked sites may require environmental review or testing. Contact local extension, environmental, public-health, or planning professionals for site-specific guidance. Raised beds and imported soil may be part of a plan, but they are not a universal substitute for understanding the site.
University of Georgia Extension guidance on assessing urban garden soil for contamination explains why site history and environmental questions should be addressed before growing food.
Ask potential gardeners what would help them participate. Consider route width and firmness, turning space, slope, bed height, reach ranges, seating with backs and arms, shade, tool weight, hose placement, signs, communication, and transportation.
Offer different ways to participate: planning, planting, watering, seed-starting, recordkeeping, translation, tool care, cooking education, or welcoming new members. Keep aisles free of hoses, tools, and temporary piles.
Confirm a legal, reliable water source before planting. Decide who can access it, how hoses will reach beds without crossing walkways, how costs will be paid, and what happens during restrictions or a broken connection.
Choose soil, compost, and amendments based on credible local guidance and test results where appropriate. Plan crops around sunlight, season, maintenance capacity, cultural preferences, and how the harvest will be used.
Start smaller than the maximum space available. A well-maintained first phase is easier to expand than an oversized garden dependent on a few exhausted volunteers.
Separate one-time and recurring needs. Possible costs include permission or lease fees, insurance, soil testing, beds, accessible paths, soil, tools, water, storage, signage, waste removal, repairs, and replacement supplies.
Do not promise a grant, donation, or free material until confirmed. Used lumber, containers, soil, or compost should be evaluated for safe use. If the group collects money, use receipts, regular reporting, and more than one person able to review records.
Explain rules before enrollment and provide them in usable formats. Avoid requirements that unnecessarily exclude people with disabilities, caregivers, older adults, or people with limited schedules.
Name a coordinator, describe tasks in advance, identify water and shade, plan first-aid and emergency contacts, and check weather. Demonstrate tools and offer tasks with different physical demands. Volunteers should not handle hazardous waste, unknown chemicals, needles, unstable structures, or work beyond their training.
Shared beds need a visible system for when and how food is picked and distributed. If produce will be donated, confirm the receiving organization’s current needs, hours, packaging expectations, and food-safety guidance before harvesting. Never promise a volume or schedule the garden has not demonstrated it can sustain.
Ask what worked, who could not participate, what became expensive, where access broke down, and which tasks depended too heavily on one person. Record lessons for the next group.
Connect this work with UWP’s Healthy Living program, Community Outreach, Resources hub, and ways to Get Involved or volunteer.
There is no single minimum. A small site with reliable water and committed participants may work better than a large site the group cannot maintain.
Yes. Confirm ownership and get written permission or an appropriate agreement before making changes, spending money, or inviting participants.
Site history and intended use should guide testing. Ask local extension, environmental, or public-health professionals what testing and interpretation are appropriate.
Plan firm routes, varied bed heights, reachable water, seating, shade, usable tools, clear communication, and multiple roles. Ask participants directly about access needs.
Decide this before planting. The plan should cover recurring costs and use a transparent process.
Use a written process such as an application window and lottery, priority criteria, or shared-bed model. Explain waitlists, renewal, accessibility, and reassignment rules.
Often yes, but contact the receiving organization first to confirm needs, accepted items, food-safety expectations, delivery times, and scheduling.
This article provides general community-planning and wellness education. It is not environmental, agricultural, food-safety, engineering, legal, or medical advice. Confirm site-specific requirements with qualified local authorities and professionals.